
This post was originally published in [2025] and has been fully updated for 2026 with new data and tools.
Have you ever stared at a blank screen for hours, wondering how to balance SEO with actual readability?
Most creators struggle to find the sweet spot, but learning how to write engaging optimized blog content doesn’t have to be a marathon.
I have a formula that will make writing a blog post as easy as paint-by-numbers for a blind person.
- Pick Keywords
- Create an outline
- Fill in content
- Sprinkle in SEO
- Review and Post
Keep reading, and I’ll share this exact formula step by step with you. Plus, how to keep 100% of the money with an affiliate program!
Benefits of Writing SEO Optimized Blog Posts Faster
A blog post has more uses than a roll of duct tape in the hands of MacGyver. Not only can you rank in the search engines, but you can repurpose your blog post to an insane amount of places and get TONS of free traffic.
For a complete guide to 20 benefits that a blog can give you, check out this post HERE.
How to Find Low Competition Keywords for Your Blog
The first step to writing a blog post is picking the right keywords. If you shoot for keywords that are too competitive, then your blog post will NEVER be seen.
If you pick keywords that have NO traffic, then you will not get that much traffic.
You want keywords that have high traffic without a lot of competition.
There are all kinds of expensive keyword tools, but I recommend FREE.
There are ways to look up keywords in Google, see how competitive they are, and give yourself an idea of how much traffic they get.
The problem with the expensive keyword tools is that the information they give can be wrong. The source that truly knows is ONLY Google itself!
More good news is that you don’t have to shell out hundreds of dollars a month. There are many free ways to do keyword research, and you can learn more by clicking on this link HERE.
How to Create a Professional Blog Post Outline for SEO
After you have the keywords that you want to target, you want to create an outline. This is like the skeleton of a human body that consists of…
- Title
- Subheadings
- Tee up
- Answer Target
- Read on
- Closing
Title
The title is VERY important and needs 3 things.
- The keywords that you’re going to rank for.
- Some type of clickability.
- Should be under 60 characters.
You want the keywords you want to rank for in the title. You also want an element of clickability. A great idea is to do a Google search and see what Titles show up.
⚡ Content Speed & ROI Calculator
Calculate the value of your time saved!
Sometimes they are not even on topic. Then simply put the keywords in the title and add an element that gets you noticed. Numbers can help, such as…
- 10 steps to choosing new tires for your car!
Another idea is to add an element after the title, such as…
- 10 Steps to Choosing New Tires for your car! (Don’t Miss #3)
If you’re stuck on ideas, you can always go to ChatGPT and tell it what you want. “Give me 50 different titles with the keywords “..” and make each title clickable.
Subheadings
Next up is you want some subheadings to break up the article.
You could even use ChatGPT to come up with some subheadings for your blog topic or come up with them yourself.
You want your subheadings to stand on their own, in case they rank and you get MORE traffic. Don’t make the subheadings 1 word, but make them longer with more keywords.
Tee up
The tee-up is the first few sentences. It should give confidence to the reader that you can help them. If you’re stuck on what to put in the first sentence, a great tip is to poke at what is injuring them.
Remind them of the problem that they are having. Then give confidence in how you can solve it.

Answer Target
You want the answer directly in the front, and I bold mine.
It improves user experience, and the reader gets what they want. Plus it can help you win snippets that Google can take for a search query.
Have you ever gone to a post and all your time was wasted looking for an answer that didn’t come? It sucks, right? Don’t do that to other people! Put the main stuff up front!
Read on
The read-on is after you give the reader the answer; you want to give them a reason to continue and not exit. This can be as simple as “Keep reading, and I’ll share…”
When someone drops off, it usually is in the beginning, so you want to do everything you can to capture the reader’s interest.
Closing
Lastly is a closing. You could summarize some of the main parts. Also, you could lead them to another article or your landing page if it fits.
How to Write Engaging Blog Content for Beginners
Congratulations, most of your article is already done.
Now comes the fun part of just filling in the subheadings.
Instead of writing 1 big blog post, you’re just writing 5-10 small posts (depending on your subheadings).
I recommend writing the content yourself, so it’s a quality blog post. You could sprinkle some ChatGPT in at times. I find the AI is helpful with…
- Coming up with boring stats, I can include.
- Coming up with funny spins on topics
- Brainstorming
- Creating Images
- Coming up with stories
I also like to sprinkle in Quotes, tables, Giphy’s, pictures, and anything else that makes the content valuable. The ideal length of a blog post is between 1,300 and 2,000 words.
It depends on how competitive the keyword you’re going for is.
| Score | Difficulty | Target Word Count | Depth of Content Required |
| 0 – 10 | Very Easy | 600 – 1,000 words | Low: Answer the question clearly and concisely. |
| 10 – 20 | Easy | 1,000 – 1,500 words | Medium: Add examples, images, and common FAQs. |
| 20 – 30 | Moderate | 1,500 – 2,500 words | High: Requires a “complete guide” approach. |
| 30+ | Hard | 2,500+ words | Expert: Pillar content or Mega-guides required. |
The main thing is that some shorter articles outrank longer ones.
Heck, if the keyword you’re targeting is competitive, you could write over 2,000 words. The main goal is to be as helpful as you can!
Also, to come up with the content, just use your research and put it into your own words. Remember to add your personal touch, like stories and experiences.
It’s just like talking to your neighbor.
You could also look at other articles, podcasts, and YouTube videos. Plus, here are a few other places to get content ideas….
- Phone a business
- Tweet an expert
- DM someone who can help
- Poll users in a group
- Forum info
Best Tips for Staying Focused and Productive While Blogging
When it comes to writing an article, I prefer background video game music. Then writing becomes like a video game.
You can get into a flow where time disappears, and you don’t want to stop.
All writing is just documenting what you have learned. When you first start, just write anything down; you can come back for spelling and grammar and improve it.
Psychologically, putting something down on the screen makes you feel good and creates that momentum.
Oh, and when writing a blog, make your paragraphs short. 1-3 sentences are better than a wall of text that will intimidate someone.
How to Optimize Your Blog Posts for Search Engines Manually
The first rule is to write for humans, not the search engines.
However, a search engine is a robot, so you want to make its job as easy as possible. Dummy-proof it.
For on-site SEO, I recommend…
- Putting the keyword in the title and 1 subheading.
- Putting alt text in 1 picture (ideally with your keywords).
- At least 1 outbound link (ideally to an affiliate offer).
- At least 1 internal link (to another of your blog articles).
- YouTube video, if it makes sense (ideally your own).
- Include your landing page to collect emails (if possible).
- Oh, and have AI help you with the Meta Titles and Description
This is it.
Google can’t recognize photos, so putting in the alt text will dummy-proof your article so Google knows what it’s about.
When you click on an image in WordPress, there should be a menu on the right. Look for alternative text. Then fill in what the picture is about.
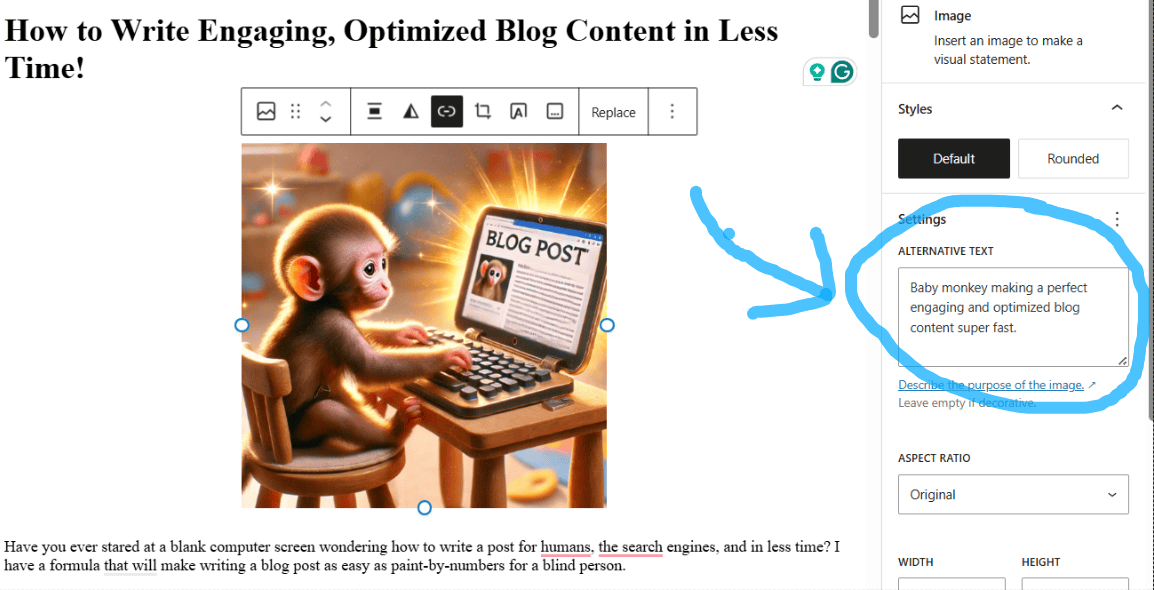
I do this for 1 picture.
The reason I only put keywords in the title and subheadings is that if you put too many keywords in, you risk a “keyword stuffing” penalty, and this can hurt your rankings.
Also, trying to put too many of your keywords in hurts engagement and the quality.
It’s good to sprinkle in some affiliate offers if it makes sense. This is where you earn money if someone clicks on it and purchases something.
If you want to keep 100% of the money with affiliate marketing, I recommend something like this HERE. They are easy to sprinkle into blog posts and have TONS of other uses.
Next, you want 1 internal link to another blog post. This ALL helps SEO, because it looks good if someone visits your blog post and then goes to another of your blog posts.
It’s also why I recommend creating content clusters. This means a few articles are all related to 1 topic. All the interlinking can help, plus it’s easier, and you already have some affiliate products in mine.
You don’t want 10 articles on your blog all on completely different random things – that would confuse Google!
Embedding YouTube videos on your blog is also good because not only does it increase the time someone is at your blog, but improves your YouTube channel (if it’s your video).
Lastly, remember to include a link to your landing page to collect emails. By collecting emails, you can…
- Contact someone for a long time.
- Highly increase your conversions.
- Market multiple products.
- Help your blog.
- Help your social media.
- Do collaborations.
- Improve your chances of getting accepted into affiliate programs.
I have a FREE guide that walks you through email marketing at this link HERE. You could easily 7X your sales online with this FREE guide; it’s a must-have.
Final Checklist for Proofreading and Publishing Your Blog Post
Before you post your article, you want to look it over.
Get yourself a free grammar app like this one HERE. If it underlines anything, just look it over.
You don’t have to follow its advice, but it’s a second opinion.
Next, any factual information go over to make sure it’s correct. Now read your article at least 2 times and fix anything wrong. Lastly, preview the article and see how it looks. Read it and fix any formatting issues.
Choose a category on your blog, make sure there is a featured image, and post it.
Then congratulate yourself.
Conclusion
One of my favorite quotes is…
Creativity is just combining things.
Unknown
Blogging is FUN. All you are doing is combining things on a page. Plus, you can make good money at it and do it anywhere in the world, at any time! The downfall is that it can be slow to rank. However, I recommend leveraging your blog post.
This means you can take 1 blog post and repurpose/reuse it. This is where you will save the MOST time and get the MOST benefit.
1 blog post can easily turn into a week’s worth of content. But it all starts with 1 quality blog post. I created a free eBook that walks you through how to do this by clicking on this link HERE.
Hope this post was helpful. For the complete 10-step process on creating a blog with 20 benefits a blog can give, check out this post HERE.
Have a nice day.